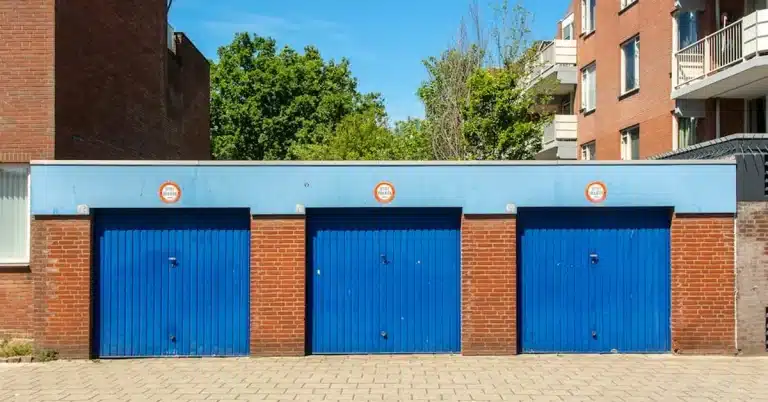
Your space loses a lot of energy through gaps at the bottom of your overhead entry. I’ve seen it hundreds of times during service calls. Cold air sneaks in during winter. Hot air invades during the summer. Pests find their way inside in search of shelter. A properly installed garage door seal solves all these problems quickly. This guide walks you through everything you need to know about weatherproofing. We’ll cover types, installation, and pest prevention. Let’s get your space sealed up right.
Why Your Home Needs a Quality Garage Door Seal
Here’s the deal. That gap between your floor and the bottom panel costs you money every single month. Without a proper garage door seal, you’re basically heating or cooling the outdoors. I’ve tested this with thermal cameras on job sites. The temperature difference is shocking every time. Your HVAC system works overtime trying to compensate for the lost energy.
Beyond energy costs, there’s the issue of debris. Leaves, dirt, and water pour in through unsealed gaps. Snow and rain create puddles that damage stored items. A quality garage door seal creates a tight barrier against all these elements. Your belongings stay dry and protected. Your energy bills drop noticeably within the first month.
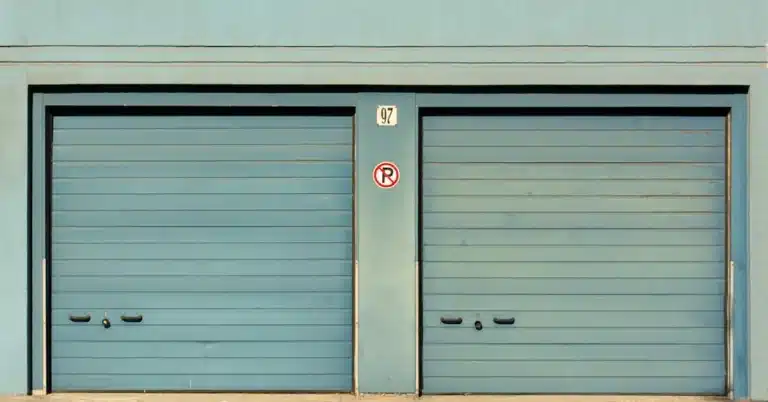
Types of Threshold Seals for Your Space
Not all seals work the same way. A threshold seal attaches directly to your floor. It creates a raised barrier that the bottom panel presses against when closed. These work great for uneven concrete where traditional bottom seals struggle. I recommend threshold options for older homes with settling foundations.
Bottom seals attach to the panel itself. They’re usually made from rubber or vinyl. These flexible materials compress against your floor surface. You’ll also find brush-style options that work well for commercial settings. Each type has specific advantages depending on your situation and climate needs.
Seal Kits and 2 Door Kit Options
Most homeowners find seal kits the easiest solution. A good kit includes everything needed for installation. You get the seal material, adhesive, and hardware in one package. A 2-door kit saves money if you have multiple entries to weatherproof. I always suggest buying kits over individual components for first-timers.
The kit approach eliminates guesswork about compatibility. Manufacturers design these components to work together perfectly. You won’t end up with mismatched parts or wrong sizes. Most kits include detailed instructions that make DIY installation straightforward. Just measure your opening width before ordering to ensure proper fit.
How a Garage Door Seal Blocks Pests and Rodents
Mice can squeeze through gaps as small as a quarter inch. That tiny space under your panel is basically a welcome mat. A proper garage door seal eliminates this entry point completely. I’ve helped countless homeowners solve rodent problems with this simple fix. The pests literally cannot get through a properly installed seal.
Insects love those gaps too. Spiders, ants, and roaches use them regularly. Even snakes follow pest trails into unsealed spaces. Your garage door seal acts as the first line of defense. It keeps the creepy crawlies outside where they belong. Combined with proper storage habits, you’ll see dramatic pest reduction.
Xcluder and Rodent Proof Technology
Xcluder products use a special fill fabric that stops rodents in their tracks. This material contains stainless steel fibers woven into a polyester matrix. Mice and rats cannot chew through it, no matter how hard they try. I’ve installed Xcluder solutions in rural properties with serious pest pressure. The results speak for themselves every time.
These rodent-proof materials work alongside traditional weatherstripping. You’re getting double protection against both weather and wildlife. The combination approach handles even the most stubborn pest problems. Many professional exterminators now recommend this technology for complete perimeter protection.
The Garage Door Rodent Shield Solution
A garage door rodent shield adds another layer of security. These products install along the sides and bottom of your opening. They block the small gaps that regular seals might miss. Steel or aluminum construction resists determined critters’ gnawing.
Here’s what makes rodent shields effective:
- Heavy-duty metal construction that resists chewing
- Flexible design that works with panel movement
- Easy installation with basic hand tools
- Long-lasting durability in all weather conditions
- Compatible with existing seal systems
The shield approach works especially well for detached structures. Barns, workshops, and storage buildings benefit greatly from this added protection.
Commercial Garage Solutions That Last
Commercial garage applications face tougher demands than residential ones. Constant traffic, heavy vehicles, and industrial use require stronger materials. A commercial garage door seal needs to handle this abuse daily. I’ve worked on warehouse projects where standard residential products failed within months.
Industrial-grade seals use reinforced rubber and heavy-duty vinyl. These materials resist oil, chemicals, and extreme temperatures. The mounting hardware is beefier, too. Commercial installations also need wider seal profiles to span larger gaps. Investing in proper commercial products saves replacement costs down the road.
Tips for Installing a Garage Door Threshold Seal
Installation isn’t as hard as you might think. Start by cleaning your floor thoroughly. Any dirt or debris prevents proper adhesive bonding. I use a degreaser on concrete to remove oil stains before installation. This prep work determines how long your garage door threshold seal lasts.
Measure twice before cutting your seal material. Most products come in standard lengths that need trimming. Use a sharp utility knife for clean cuts. Dry-fit everything before applying adhesive. Once you’re happy with the positioning, apply the bonding agent according to package directions. Let it cure fully before operating your panel.
Temperature matters during installation. Most adhesives work best between 50 and 80 degrees. Cold weather slows curing time significantly. Hot weather can make the adhesive too runny. Plan your project for mild conditions when possible. Your garage door seal will bond more strongly and last longer when installed properly.
Protect Your Space with the Right Seal
Weatherproofing your overhead entry is one of the smartest home improvements you can make. A quality garage door seal pays for itself through energy savings alone. Add in pest prevention and debris blocking, and the value multiplies. Your stored items stay protected year-round.
Take time to choose the right product for your specific needs. Consider your climate, pest pressure, and usage patterns. Don’t hesitate to upgrade to rodent-proof options if you’re in a rural area. The small extra investment prevents major headaches later. Your properly sealed space will serve you well for years to come.
Frequently Asked Questions
How long does a typical garage door seal last before needing replacement?
Most quality seals last between 3 and 5 years with normal use. Heavy traffic or extreme weather shortens this lifespan. You’ll notice cracking, brittleness, or gaps forming when replacement time comes. Check your seal annually for signs of wear. Rubber products typically outlast vinyl in harsh climates. Replacing before complete failure keeps your space protected continuously.
Can I install a threshold seal over an existing bottom seal?
What's the best seal material for extremely cold climates?
Rubber compounds rated for cold-weather performance perform best at freezing temperatures. Look for products specifically labeled for cold climate use. Standard vinyl becomes brittle and cracks in extreme cold. Silicone-based options also handle temperature swings well. I recommend EPDM rubber for northern regions with harsh winters.
Will a seal work if my floor is uneven or cracked?
How do I know what size seal to purchase for my space?
Measure your opening width from inside edge to inside edge. Most seals come in lengths of 8, 9, 10, and 16 feet. Buy slightly longer than needed since cutting down is easy. Check the gap height between your floor and the closed panel, too. This measurement determines what profile thickness you need for proper compression.
Do rodent-proof seals require special maintenance?
These products need minimal maintenance compared to standard seals. Inspect quarterly for any damage or displacement. Clean debris buildup that might create gaps. The metal fibers in products like Xcluder naturally resist degradation. Replace if you notice any chew marks or material separation. Proper installation remains the most important factor for long-term performance.